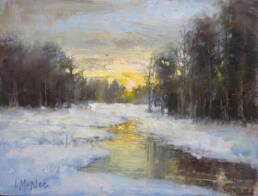
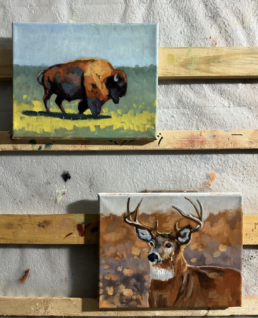
Plein air painting can be a major production especially if you are a beginner.
Over twenty years ago I began my plein air painting journey. Back then, each trip into the field involved loading up my entire studio setup in the trunk of the vehicle.
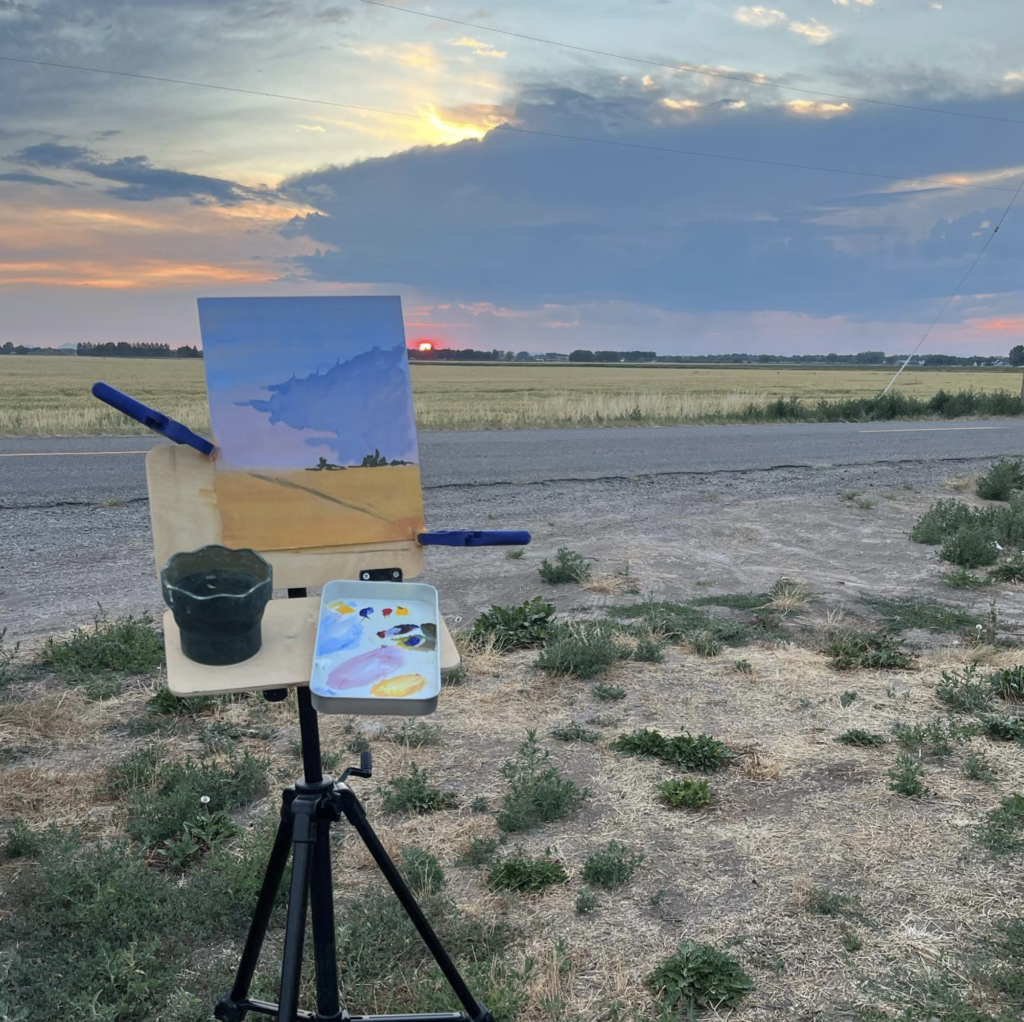
I’d drive to a location, park and then haul out my equipment, oil paints, brushes, mineral spirits etc and march out into some pasture. I was so excited to paint, but setting-up was a burdensome task.
Then when it was time to pack up, the entire grueling process would be in reverse order! But now with the addition of a wet palette, dirty brushes plus a wet oil painting that I’d desperately try not to drop as I headed back to my car!
Yes there were some great pochade boxes on the market, but I was a struggling artist and those setups were always just out of the reach of my meager budget. However, I enjoyed painting outside and imagined there had to be a simpler, more inexpensive system.
Back then I was planning a backpacking trip deep into Idaho’s White Cloud Wilderness area. I imagined how fantastic it would be to spend some quiet evenings landscape painting the jagged peaks and high mountain lakes. But my main concern was how I would protect the wet oil panels in my crowded backpack. I was mulling over the complexities, then the thought came to me, “Why not use gouache?”
I hadn’t used gouache since art school. Yet, I recalled all the advantages it would have for painting remotely in the mountains. Gouache would be water-based, lightweight and the panels or sketchbook would be dry and easy to pack away.
With this new plan in mind I looked up some gouache tutorials and came across James Gurney’s Youtube channel. This fantastic artist/illustrator had developed a unique DIY plein air painting easel setup for holding his watercolor/gouache sketchbooks as he painted plein air on location. This was exactly what I was needing! I rummaged through my garage and found various wood scraps and got work.
Inspired by James Gurney’s setup, my own DIY plein air painting easel essentially consists of two 10 ”x 6” x .125” birch panels. The panels are joined together with two tension hinges and I added a glued piece of .375 thick plywood on the back with an open metal thread to match my tripod’s quick release attachment.
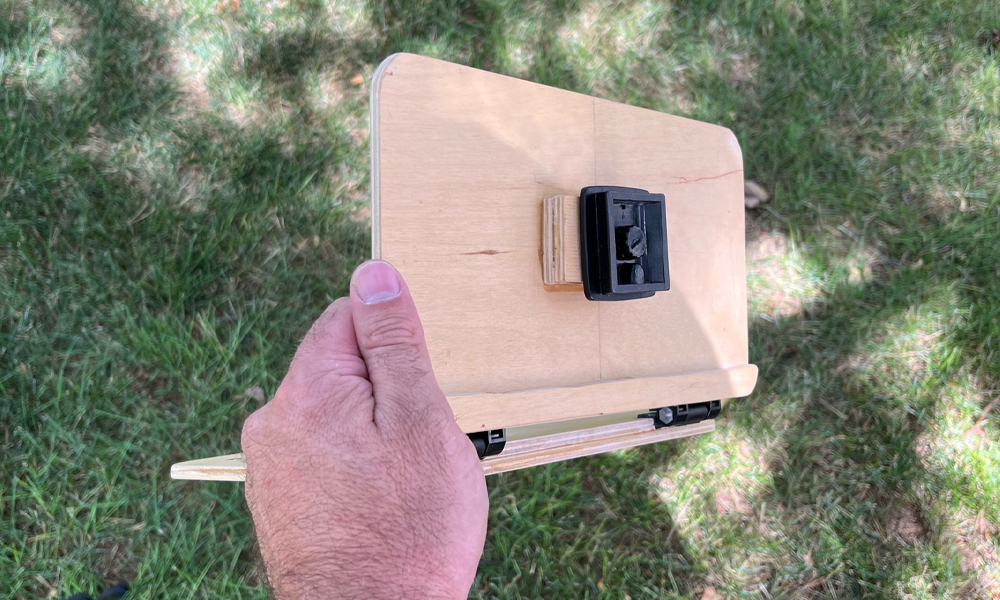
After that I drilled out some small circles and glued into an array of magnets to which I can attach a small metal painting tray (left over from a colored pencil box) and a rubber collapsable cup (I throw a couple of more magnets into the cup before adding water). Finally, I attach my panel or sketchbook with a couple of small clamps I found at the hardware store.
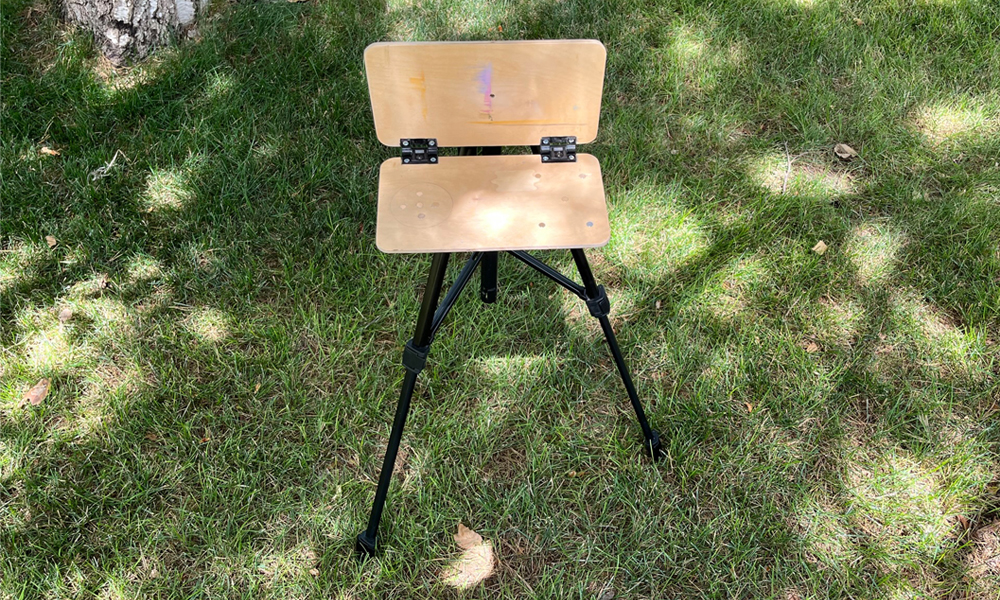
Later, I discovered the James Gurney sells a DVD with detailed instruction on how to build his specific easel. However, after a few years in service I have no complaints about my set up.
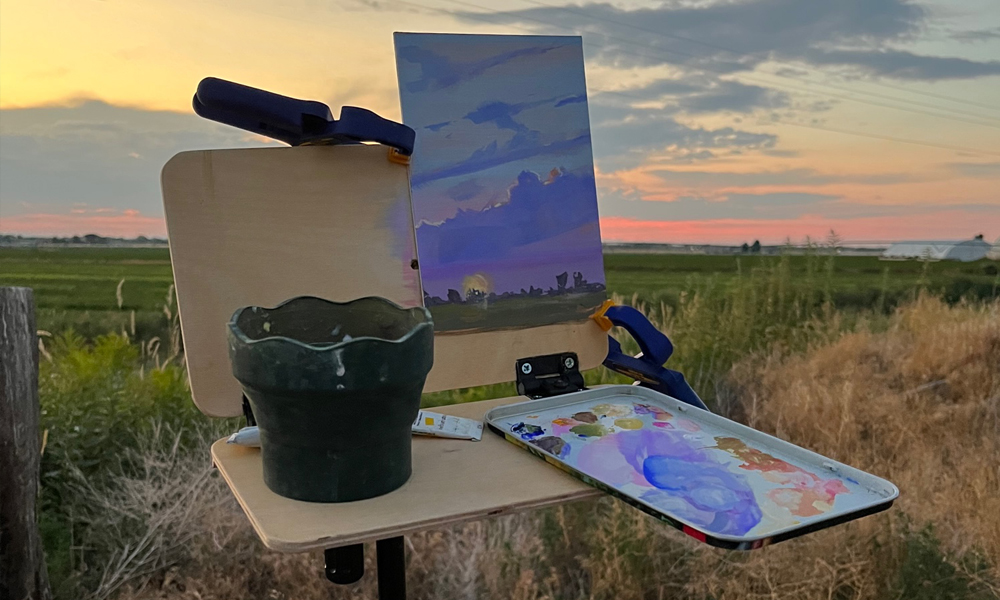
Keeping it simple and hassle free has given me more time for painting in the field. Now I don’t miss out those fleeting sunsets and other impromptu painting moments. I just grab painting satchel filled with what I need to hit the ground running and painting when I arrive at my destination!
Guest artist: A Southeast Idaho native by way of the city of Iona, Rett Longmore grew up with a passion for the outdoors. Rett graduated with a Bachelor of Arts from the Art Institute of Phoenix studying character animation. rettlongmore.com instagram.com/rett.longmore.sculptor


