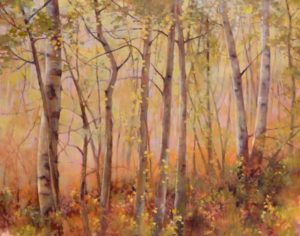
Over the past few years, I have noticed a pattern with my painting practice. During the cold winter months, I hole-up all alone in my studio and paint my still life art. But, as soon as the snow begins to thaw, I am excited to start landscape painting.
…and I am always looking to paint with other people!
The only problem is this…where I live in Idaho, there is no lack of talent. In this resort community we have talented skiers, teachers, musicians, athletes and even MBAs who are waiting tables and driving buses – but, there are not many practicing artists. So, when I had the opportunity to paint with a talented group of artists this week, I jumped at the chance!
Regarded nature artist, Connie Borup led the group. Connie specializes in painting trees and branches, so with our own ‘tree guru’ in the house, I decided to try my hand at painting some aspen trees. This complex subject has intimidated me in the past, but with a strong ‘support group’ of fellow artists, I felt up for the challenge. 😉
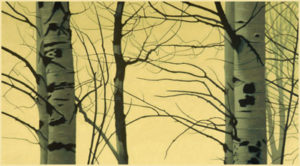
I thought you all would enjoy seeing what was ‘on my easel’ this week.
At first, switching between the two painting disciplines from still life to landscape is refreshing, but it is always a strange transition. My still life paintings are wonderful to execute, but they are rather controlled and labor intensive. Landscape on the other-hand, allows me some extra painterly freedom. Each discipline helps my growth as an artist. I am always excited to watch my paintings unfold…
The Concept:
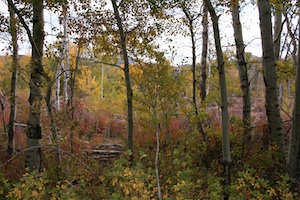
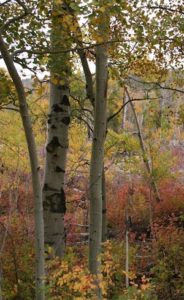
It is best to begin a painting with a concept in mind. Last autumn, I took some really great aspen tree pictures, so I decided to use them as reference material.
I decided upon a horizontal composition and bought a 24×30 inch canvas. But, before I began dipping into my paints, I did a little refresher homework.
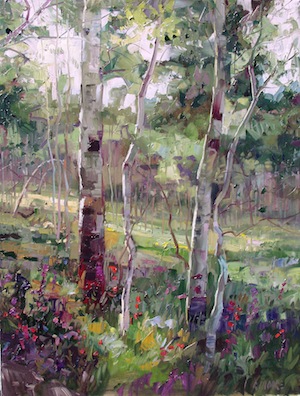
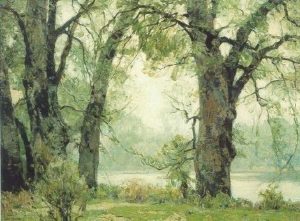
Looking for some tree inspiration, I browsed the paintings by my good friend and fellow Kneeland Gallery artist, Robert Moore. Robert is an amazing talent, his popular paintings sell right off his easel each year at the annual Kneeland Gallery Plein Air Exhibition. Just look at his beautiful painting below!
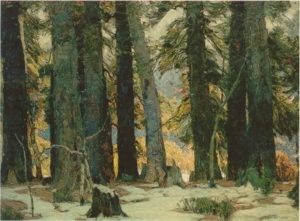
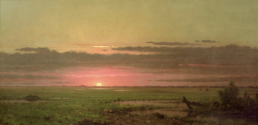
Like most artists, one of my favorite past-times is looking at art that inspires me. I have always been a big fan of the famed 20th century landscape painter and author, John Carlson. His book, “Carlson’s Guide to Landscape Painting” is a must-have for any budding or professional landscape painter. However, my copy of the book only has black and white photos of Carlson’s work. I was happy to find a great little blog post by Stapleton Kearns that showcased many of Carlson’s luscious paintings.
“Light and atmosphere” are two common denominators that I strive to achieve in all my paintings. I decided this painting should feel lyrical, glowing and I wanted the autumn leaves to dance across the composition. This was the concept.
The Start:
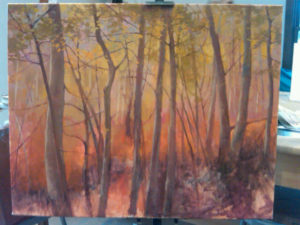
- Much like my still life paintings, I began with a warm burnt sienna wash as the base for the under painting.
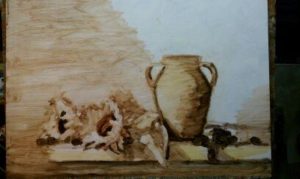
(Since I don’t have a image of the trees at this stage, I hope this helps.)
- Next, using burnt sienna and ultramarine blue, I blocked in the tree trunks and branches, as well as the dark under growth. This will anchor the trees and keep them from floating.
- At this stage, design and composition are critical. I was careful not to repeat patterns, making each trunk and branch individual.
- I then mixed up a middle value, green-gray to represent the darker foliage.
The Middle:
- Once the darks were in place, I could see the composition clearly.
- I began to paint in the middle values of the tree trunks.
- Using cadmium red light, cadmium yellow and alizarine with a bit of their compliment – green, I blocked in the warm foliage in behind the trees.
- After, I used a cooled off yellow to hint at the aspen colors in the background
The Finish:
- The next day, I felt the painting was too ‘hot’…or, too warm. I wanted to keep the ‘glow’ that I was achieving, but I didn’t want my trees to look like they were on fire!
- I decided to ‘cool’ off the painting.
- I could have done this a couple of ways, but I decided to mix some opaque passages on complimentary colors to cut into the background.
- I mixed the red oranges with white and a touch of blue. This pale lavender created a wonderful harmony that can be seen in the finished painting.
- Next, I worked on the tree trunks and branches, strengthening their shapes and details.
- The ‘dancing leaves’ took careful consideration. I had to be careful not to make the painting look ‘spotty’ and amateurish. I massed in much of the foliage and carefully placed the leafs. I also positioned them to lead your eye throughout the painting.
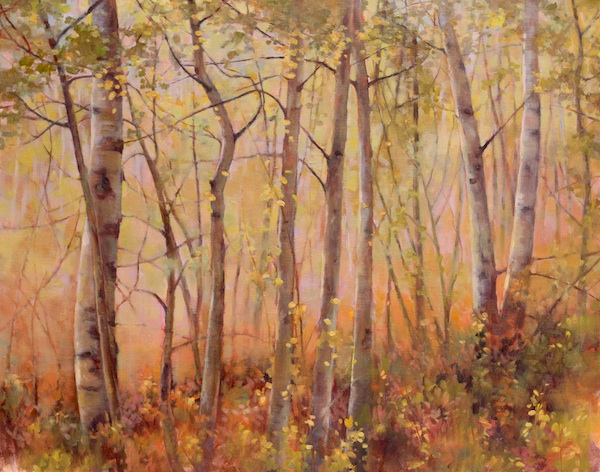
The result is, “Aspen Dance”. I have not signed this painting – yet. I think I will let it sit for a few days and then look at it with fresh eyes…just to make sure it is done. I hope you enjoyed this little tutorial. If you have any questions, please leave a comment! ~Lori
Please be sure and look at some of these other helpful articles: PS. I hope you will join me on my Facebook FineArtTips page where you can share ‘what’s on your easel’ with me, and meet me on Twitter!
Do you want to learn more about art marketing & social media? Please check out the popular #PowerArtists Series of interviews by social media’s top art stars!
Use the Hidden Meaning of Color to Improve Paintings
The Importance of Value & Tone in Painting
A Unique Approach Using Color Harmony to Improve Your Paintings
Use the Hidden Meaning of Color to Improve Paintings
How to Bring Out the Mona Lisa in Your Own Artwork
What is Tonalism in Painting?
Commissioned Art – Tips to make it a Success!
Create a Powerful Portfolio


Beautiful painting, Lori.
As much as I love trees – I find them intimidating to paint!
I agree, Robert Moore’s Aspen paintings are inspiring. I watched him paint at a quick draw a couple
years ago – amazing!
Lori – thanks so much for sharing this -the entire painting glows almost like a beautiful watercolor can glow. wonderful piece.
Dear Lori
Thank you for sharing your knowledge, great painting. But one question, you said you changed the background color when you noticed the next day it was to red. Did you wait until the paint was dry or do you paint on the wet surface? Thanks and greetings from Berlin, Germany
A really lovely painting, makes me want to sit outside and get the brushes out, too!